# Vision
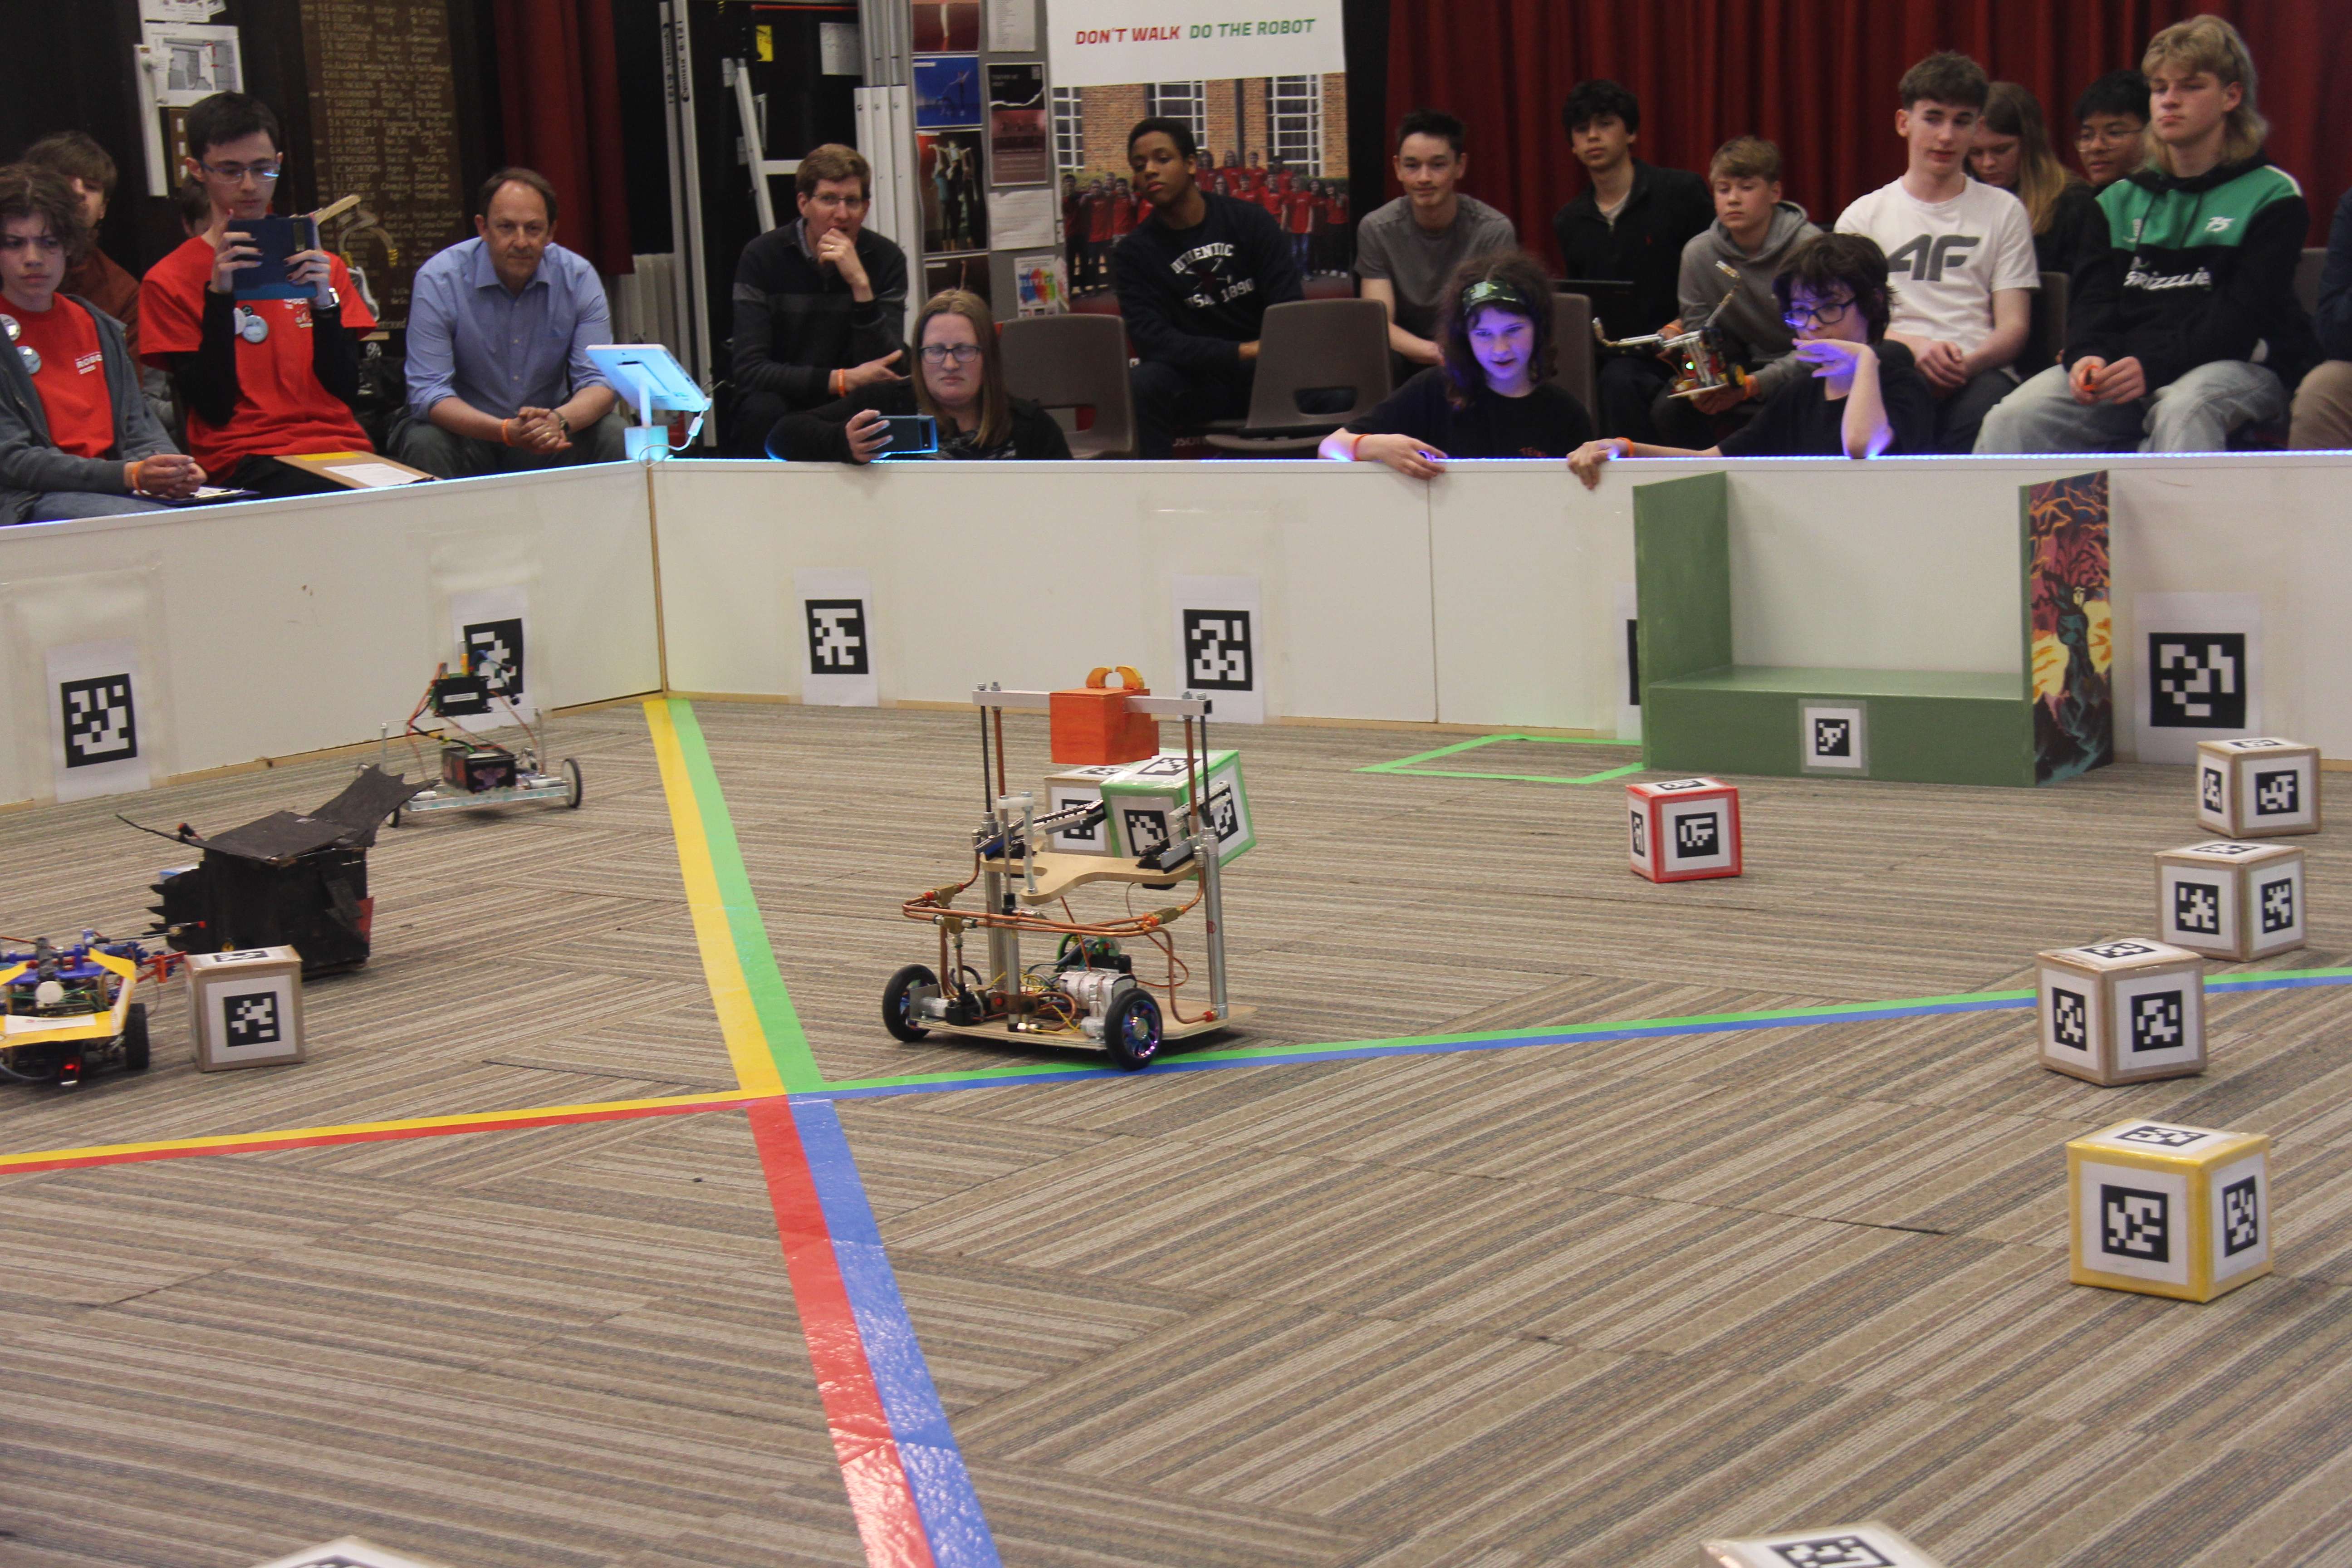
Computer Vision allows your robots to understand their environment. For the competition, this is used to locate markers. It will give you information about the type of the marker, the distance/angle to the marker, etc.
# Python
To look for markers call see()
:
markers = R.see()
print(markers)
markers
is a Python list of "marker objects", which each look like the following:
[arena Marker 0: 0.856m @0.754 degrees
{
info.type = POTATO
info.id = 15
info.owning_team = ARENA
dist = 0.856
bearing.y = 0.754
bearing.x = 1.03e+02
rotation.y = 5.1
rotation.x = -11.4
rotation.z = 9.47
info = TOO BIG TO PRINT
detection = TOO BIG TO PRINT
}
]
Full reference of the properties are further below but some useful properties are:
Property | Description |
---|---|
marker.dist | Distance to the marker in metres |
marker.bearing.y | The angle your robot needs to turn to get to the marker in degrees |
marker.info.id | Numeric code of the marker |
marker.info.type | One of ARENA or POTATO |
marker.info.owning_team | A team (PURPLE , MARIS_PIPER , etc), ARENA for hot potato or None for walls |
# Codes
TIP
You do not need to use the marker ids themselves for your calculations. Use marker.type
and marker.owning_team
instead to find out the information you need (see above).
Every april tag has a code:
April tags 0-39 will be used for cubes. Although only 20 are used in each round, there are another 20 spare in case some get damaged.
April tags 100+ will around the arena on the walls. See the rules for specifics on where around the rules they will be placed
You do not need to use the marker numbers, and can instead use marker.type and marker.owning_team
Codes | Team |
---|---|
100-123 | Arena Wall Marker |
00,20 | Russet jacket potatoes |
01,21 | Sweet potatoes jacket potatoes |
02,22 | Maris piper jacket potatoes |
03,23 | Purple potato jacket potatoes |
04-19, 24-39 | Arena owned hot potatoes |
# Blockly
Blocks for vision can be found in the Vision section.
Here's an example of a Blockly program that does some basic vision:
# Example
After reading the motors documentation you should be able to create a function which moves your robot by a number of meters as well as turn. We can then use this to write some code where a robot:
Looks for a marker
If it can see a marker:
- Turn so that it is facing the marker
- Drive the distance to the marker
If there is no marker in sight turn a bit and look again, maybe there is a marker out of view.
import robot
R = robot.Robot()
def move(distance):
"""The robot drives `distance` meters forwards"""
print("PUT YOUR MOVE CODE HERE")
def turn(rotation):
"""The robot turns `rotation` degrees"""
print("PUT YOUR TURN CODE HERE")
while True:
for marker in R.see():
turn(marker.bearing.y) # Face the marker
move(marker.dist) # Drive to the marker
else:
turn(20) # The robot didn't see anything and so we turn and maybe see
# another marker
# The Marker
object
Details about the markers can be accessed using the following syntax:
markers = R.see() # returns list of markers which the robot can see
for marker in markers:
print(marker.dist) # The distance to the marker in meters
print(marker.bearing.y) # The rotation the robot would need to turn to
# face the marker
print(marker.info.id) # The number of the marker
else:
print("The robot didn't see any markers and skipped the for loop!")
A Marker
object contains information about a detected marker. It has the following attributes:
Attribute | What it does |
---|---|
dist | The distance to the Marker from the camera in meters. |
bearing | How far the BrainBox would have to rotate to face that Marker in degrees |
bearing.x | The up/down bearing. 0 is vertically bellow the camera |
bearing.y | The left/right bearing. 0 is straight ahead from the camera |
rotation | How much the Marker would need to be rotated to face the BrainBox. (0,0,0) Is if the marker was facing the BrainBox in the upright position |
rotation.x | The roll of the marker |
rotation.y | The pitch of the marker |
rotation.z | The yaw of the marker |
info | An object with various information about the marker |
info.id | The ID number of the marker |
info.size | The length of the black edge of the marker in meters |
info.type | The type of marker, a MARKER_TYPE . This is set to either ARENA (walls) or POTATO (potatoes) |
info.owning_team | Which team owns the marker, a TEAM . If this is set to ARENA then the potato is a hot potato - make sure you don't get burnt! |
info.bounding_box_colour | A tuple describing the colour which is drawn around the marker in the preview image (Blue, Red, Green) |
detection | Technical information which has been inferred from the image. |
detection.tag_family | The family of AprilTag which is detected. RoboCon currently only uses tag36h11 . |
detection.tag_id | The ID number of the detected marker. Aliased by marker.info.id . |
detection.hamming | The number of bits which were corrected. The detector cannon detect tags with a hamming distance greater than 2. |
detection.decision_margin | A measure of the quality of the binary decoding process; the average difference between the intensity of a data bit versus the decision threshold. Higher numbers roughly indicate better decodes. Only effective for tags which appear small. |
detection.homography | The 3x3 homography matrix describing the projection from an "ideal" tag (with corners at (-1,1), (1,1), (1,-1), and (-1, -1)) to pixels in the image. |
detection.center | The image pixel coordinates of the center of the marker. |
detection.corners | The image pixel coordinates of corners of the detected marker |
detection.pose_R | The 3x3 Rotational matrix which describes the rotation of the marker relative to the origin. |
detection.pose_T | The 1x3 translation vector of the marker in meters. |
detection.pose_err | The uncertainty of the detection in meters. This number can vary massively between detections depending on if local minima were bypassed. See Apriltag: A robust and flexible visual fiducial system |
dectection.dist | The distance to the marker in meters. |
detection.rotation | How much the Marker would need to be rotated to face the BrainBox. (0,0,0) Is if the marker was facing the BrainBox in the upright position. |
detection.bearing | How far the BrainBox would have to rotate to face that Marker in degrees. |
TIP
Axes are all defined relative to the camera not your robot. Since we have no way to know how you've mounted your camera. You may need to account for this.
TIP
You can import MARKER_TYPE
and TEAM
from robot
, for example...
import robot
R = robot.Robot()
markers = R.see()
for marker in markers:
if marker.info.owner == robot.MARKER_OWNER.ARENA:
print(f"Marker {marker.info.id} is owned by the arena")
elif marker.info.owning_team == R.zone:
print(f"I own {marker.info.id}")
else:
print(f"Marker {marker.info.id} is owned by {marker.info.owning_team}")
# The Camera
object
An interface to the camera is provided incase you want to do additional computer vision.
# Changing the resolution
By default the camera takes pictures at a resolution of 640x480px. You can change this by setting the res
parameter.
import robot
R = robot.Robot()
print(f"The current res is set to {R.camera.res}")
R.camera.res = (1920, 1440)
print(f"The current res is set to {R.camera.res}")
You must use one of the following resolutions:
(640, 480)
(default)(1296, 736)
(1296, 976)
(1920, 1088)
(1920, 1440)
TIP
Using a higher resolution will increase the amount of time it takes to process the image, but you may be able to see more. Using a smaller resolution will be faster, but markers further away may stop being visible.
WARNING
The resolution values may be different on a USB camera. Please see Using USB Cameras (below) for more information.
# Get data straight from the camera
If you wish to do your own computer vision you can capture frames directly from the camera using robot.camera.capture()
.
import robot
R = robot.Robot()
image = R.camera.capture()
image.grey_frame # A 2d numpy array of the image data uint8
image.colour_frame # A 3d numpy array of the image data
image.colour_type # The encoding method used to store the colour_frame defaults to 8 bit RGB.
image.time # A `datetime` object representing approximately the capture time.
# Using USB cameras
The built-in Pi Camera inside your brain should be great for your robot, however if you would like to use your own USB Camera (perhaps you want to put a camera somewhere else on your robot), you can!
USB cameras can have slightly different functionality than the built-in Pi Camera, so they'll need some fine tuning before you can use them. The basic steps outlined below should get you up and running.
Please turn your robot off before plugging in your USB Camera of choice.
To use a USB camera you will need to initialize the Robot
with something which inherits from robot.vision.Camera
. Then just call R.see()
as you would normally.
import robot
from robot.vision import RoboConUSBCamera
R = robot.Robot(camera=RoboConUSBCamera)
print(R.see())
# Setting the resolution
You may now wish to change the resolution of your camera, this can be done the same as before with R.camera.res = (width,height)
.
TIP
Some resolutions may not work with your USB camera, as different cameras support different resolutions. Check your camera's documentation. If you try and use a resolution that your camera doesn't support, you will get an error that will state the closest resolution to the value you attempted to use. Try changing your resolution to the value that the error message suggests!
For example, to set a USB Camera's resolution to 800x600
:
import robot
from robot.vision import RoboConUSBCamera
R = robot.Robot(camera=RoboConUSBCamera)
R.camera.res = (800, 600)
print(R.see())
# Calibrating the camera
You will then need to calibrate your USB camera as the distance that it reports will not be accurate. You can do this by changing the value in the R.camera.focal_lengths
dictionary up or down. By default, the robot will use the focal lengths for a "Logitech C270" camera, it's unlikely this is your camera - so see the steps below on how to calibrate it.
TIP
Remember that focal lengths vary for different resolutions. You will need to run the calibration code below to find the focal length for each resolution you intend to use with your USB camera.
- Place a marker exactly 1m away from the camera (measure this distance). Make sure there are no other markers in sight of the camera.
- Copy and paste the following code into your editor. Please set the
resolution
value to a resolution you wish to use.
import robot
from robot.vision import RoboConUSBCamera
R = robot.Robot(camera=RoboConUSBCamera)
resolution = (640, 480)
R.camera.focal_lengths[resolution] = (120, 120) # set the focal lengths to a known bad value
R.camera.res = resolution # set resolution
marker = R.see()[0] # get first marker
d = marker.dist
focal_length = 120 / d # focal length = focal length / distance
print("Focal length is around:",focal_length)
print("Use this in your code to set the correct focal length: R.camera.focal_lengths[resolution] = ("+str(focal_length)+", "+str(focal_length)+")")
It's worth noting that this is only an average value.
The code above will output a focal length value which you should use before setting R.camera.res
or R.see()
. You can also copy the line of code it produces and paste that into your code to set the focal lengths.
For example, if your focal length was 123
at the resolution of 800x600
, you should use the following lines of code, in the same order:
import robot
from robot.vision import RoboConUSBCamera
R = robot.Robot(camera=RoboConUSBCamera)
R.camera.focal_lengths[resolution] = (123, 123)
R.camera.res = resolution
marker = R.see()[0]