# Making the Robot See

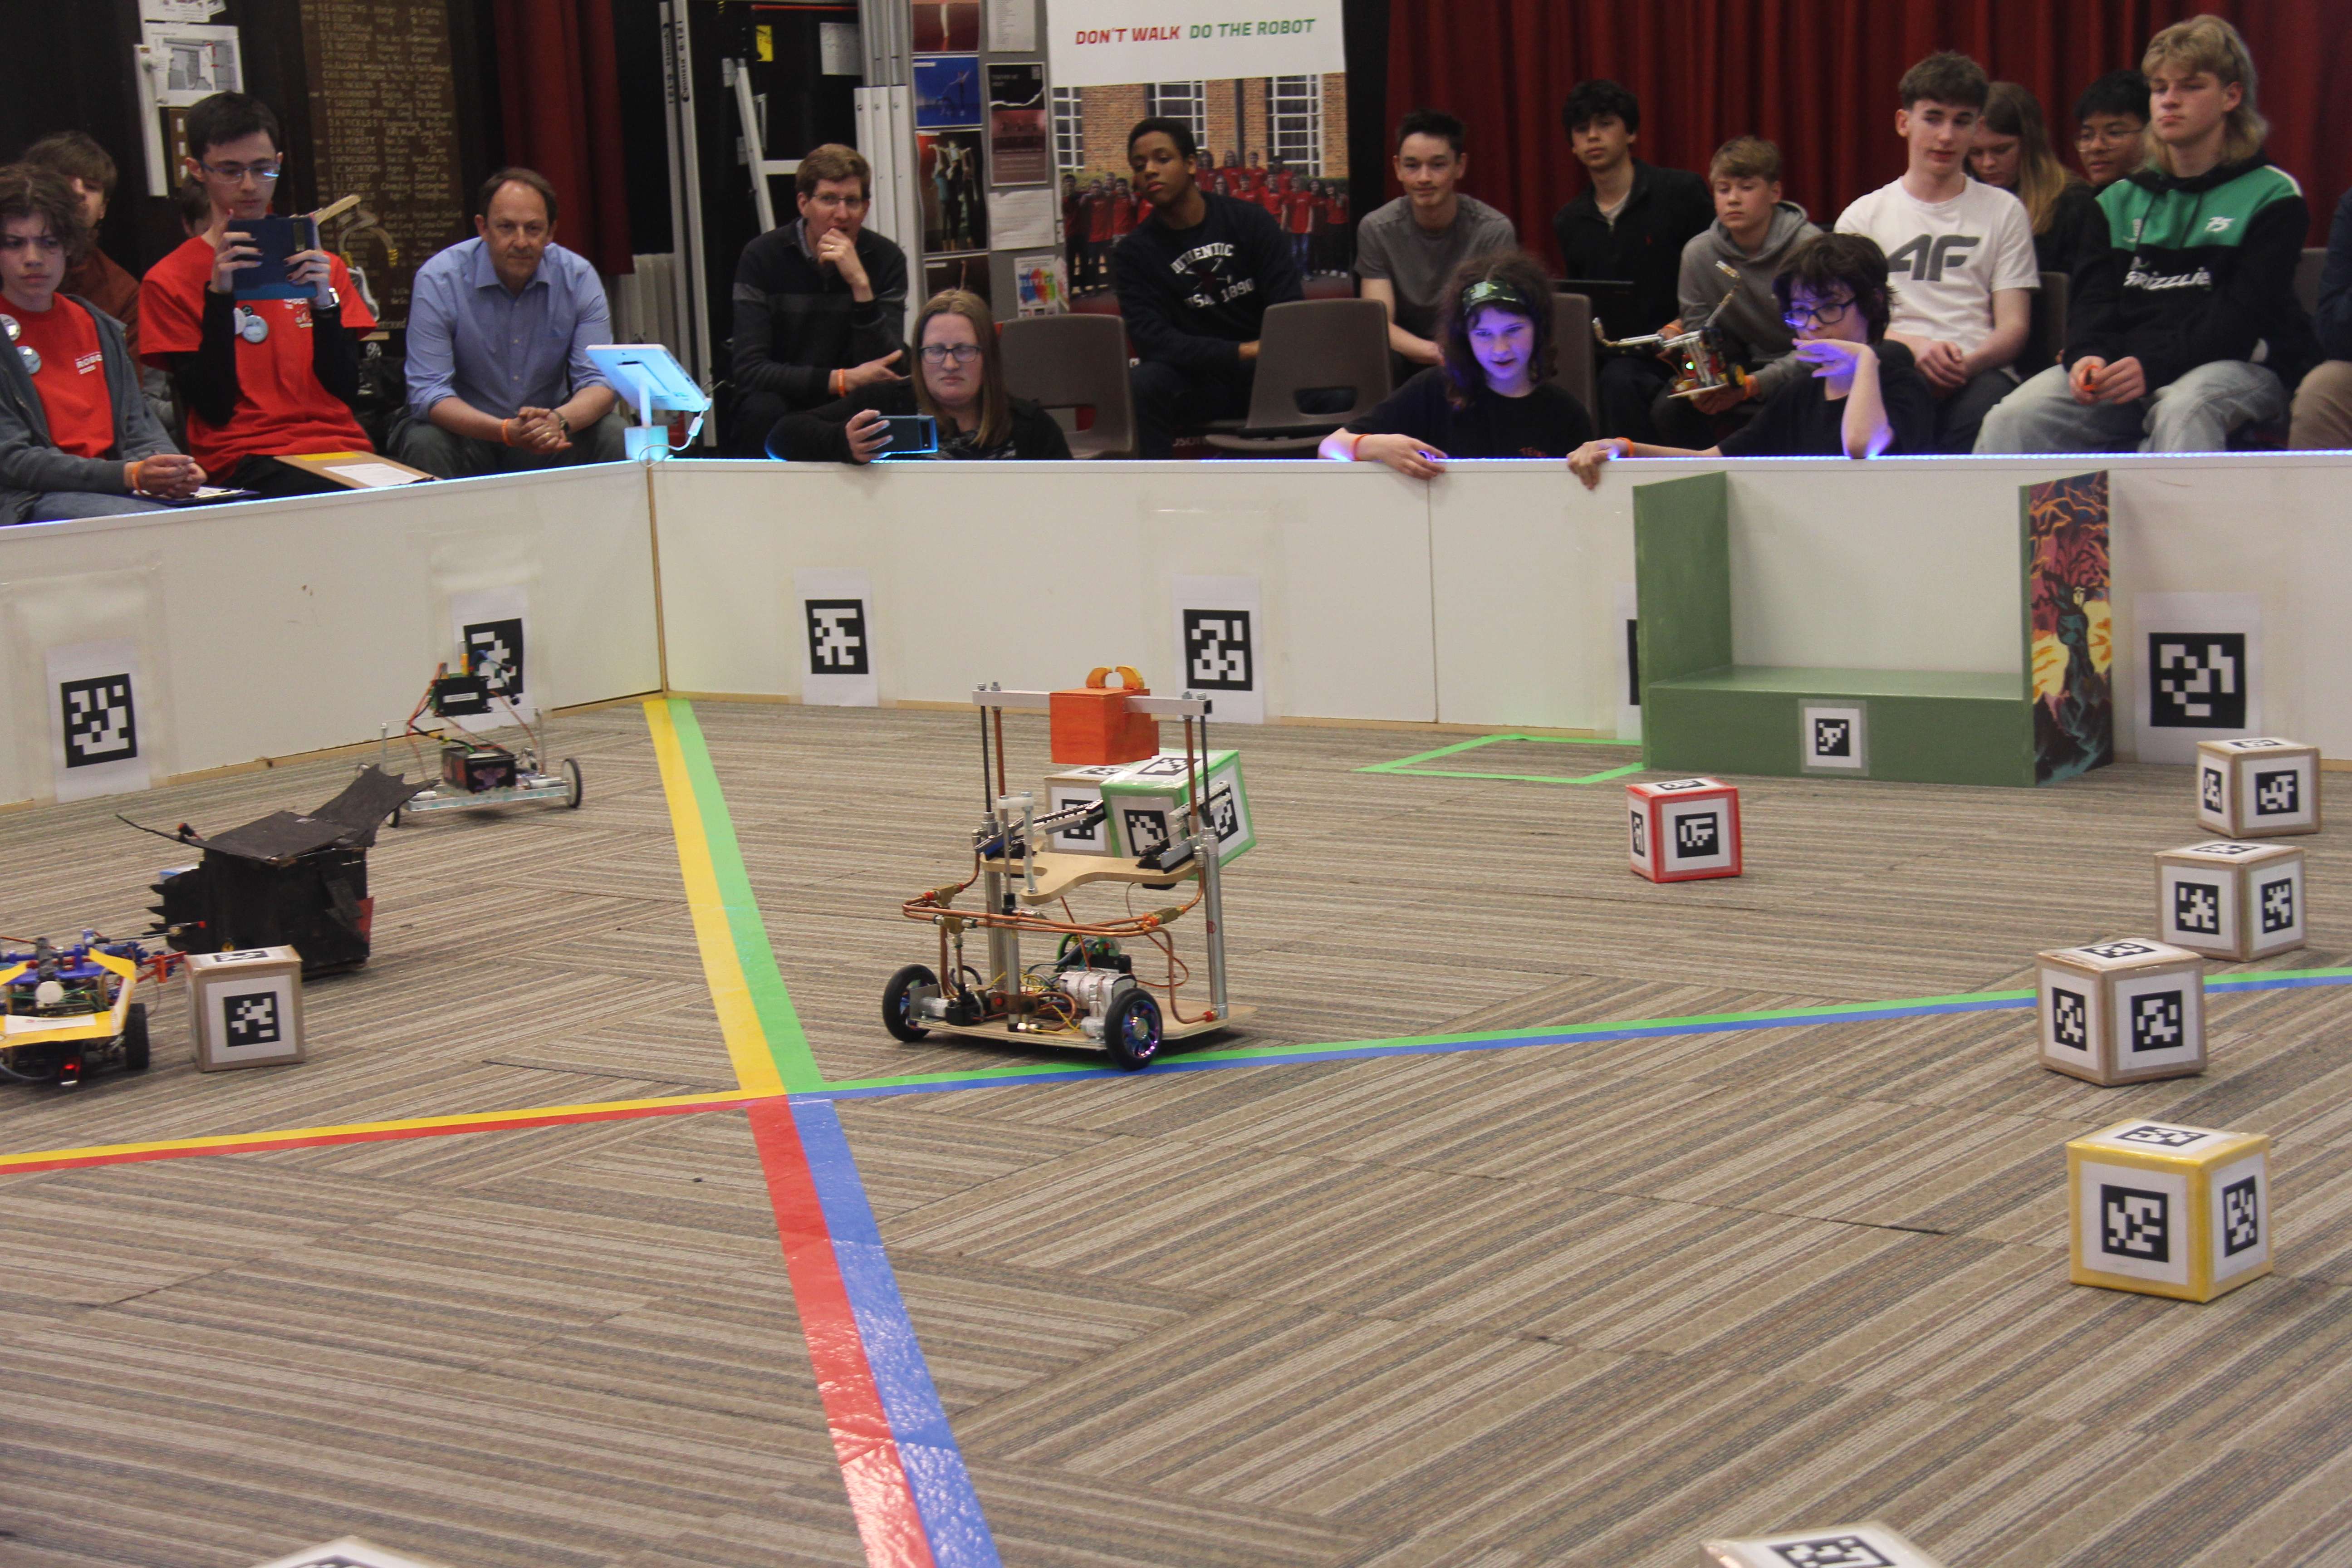
Your robot can use its camera to see markers to identify tokens and walls. This tutorial will help you make a program that makes the robot output the number of cubes it can see.

# Initialising the Robot

Create a new script called "VisionTest".

Unlike in the previous tutorial, Hello World, the use of the first couple lines of code is important here. So let's break them down:

import robot
R = robot.Robot()

This creates a "Robot" object, and places it inside the variable "R". This allows us to use robot functions through the R variable, such as R.See(). If you are using Blockly, the robot is initialised automatically.

Here is a basic introduction into what Object Oriented Programming is.

# Counting Markers

To make the robot "see" what is in front of it we have to call the function R.see() and assign the result to a variable. This will set that variable to a list of every marker the robot can see:

markers = R.see()

Every item in the list contains information about the type of the marker, the distance/angle to the marker, and more! For now all we want to do is to find the number of markers the robot can see, so we just need to print the length of the list:

print(len(markers))  
# len gets the length of something,
# in this case a list of all the markers we can see

If we run this code as it is, it will output the number of markers it can see once and then stop. To make it continue looking we need to put it in a while True loop, so it will repeat our program forever (or until we turn it off).

The complete code is as follows:

import robot
import time
R = robot.Robot()

while True:
    markers = R.see()
    print(len(markers))
    time.sleep(2)

You'll notice some new lines we snuck in there - an import time and a time.sleep(2). The first of these adds another toolset to our code, the time library. This most notably adds the sleep function we used just now, which pauses the code's execution for the number of seconds specified - in this case two.

TIP

The camera takes a moment to process the images it takes. While you can run it without any delay in the loop, this can lead to some buggy behaviour, and will act more like running every 0.6 or so seconds. In general, adding a sleep() gives you more control over what your robot is doing.

# Running the code

Place a few markers infront of the camera on the robot about 10-20cm away and run the code. In the logs the number of markers visible will be outputted, and in addition to the logs, the raw images taken by the camera can be seen, which can be useful for working out if something is blocking the camera.

# Troubleshooting and Further Reading

Connecting to the robot
Initalising the robot
Using the editor
Vision Code